
As parents, it’s natural to worry about your children’s safety online. MacBooks and Macs are popular for learning and fun, but the internet is full of distractions and harmful content. The good news? macOS has built-in parental control features that can help you create a safer online space for your kids. In this blog, we’ll walk you through how to set up parental controls on MacBook and block specific content like porn and YouTube. Let’s get started!
Download and Start Your Free Trial of the Safes Parental Control App
Why Use Parental Controls on Your Mac?
Parental controls give you the power to limit what your child can access online and how they use their device. They help you:
- Block inappropriate content, like adult websites
- Set limits on screen time
- Prevent them from installing harmful apps
- Create a safe environment for learning and play
How to Set Up Parental Controls on macOS Monterey
If you’re using macOS Monterey, follow these steps:
- Click on the Apple menu and select System Preferences.
- Choose Screen Time.
- Select your child’s profile or create one if needed.
- Click Turn On to enable Screen Time.
- Use the available options to set content limits, app limits, and more.
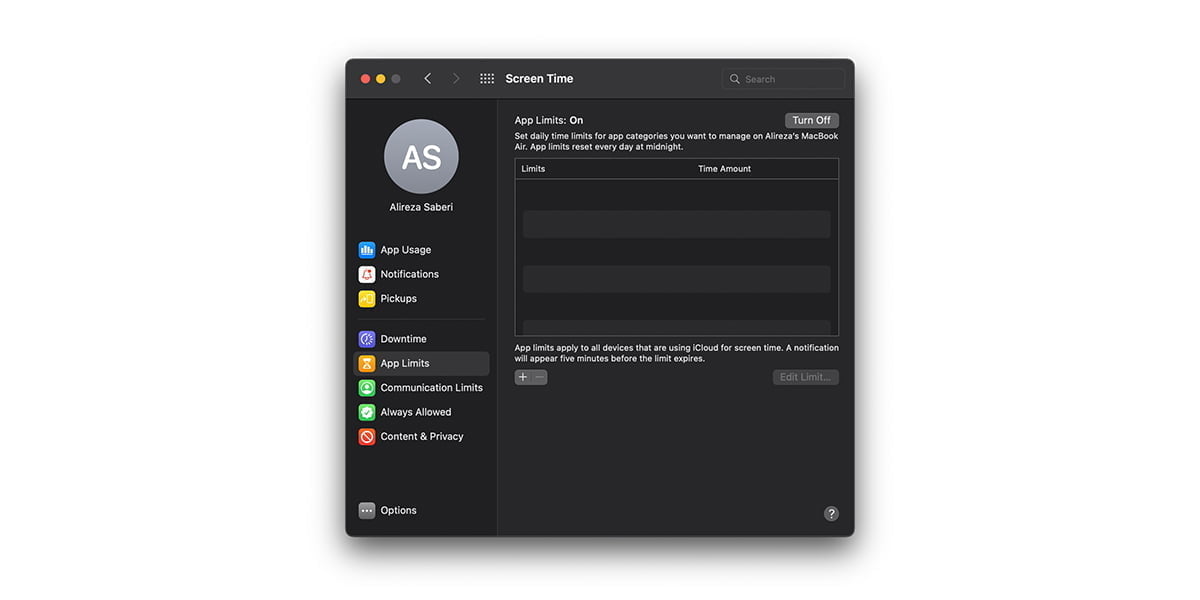
For example, you can go to Content & Privacy and enable restrictions for websites, apps, and more.
How to Set Up Parental Controls on Your MacBook
If you’re not using Monterey, you can still manage parental controls with Screen Time (macOS Catalina and newer):
- Open System Preferences and choose Screen Time.
- Select your child’s account.
- Turn on Screen Time.
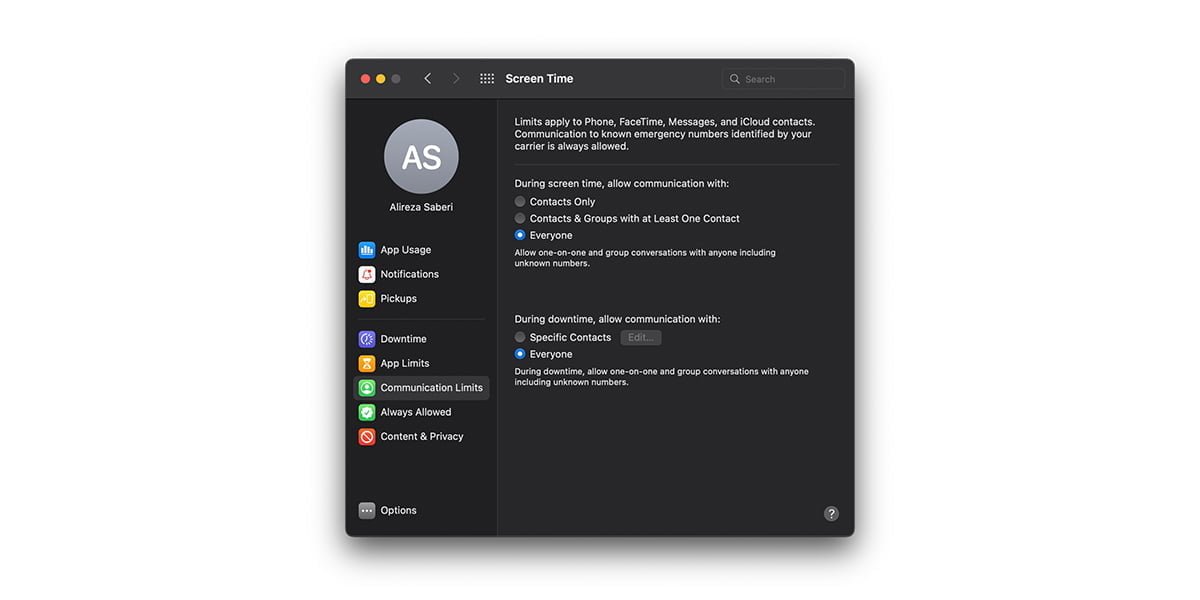
- Adjust settings for app usage, communication limits, and content filters.
For older macOS versions (like Mojave), you can find Parental Controls directly in System Preferences.
How to Block Porn on MacBook
To block adult websites:
- Go to Screen Time > Content & Privacy.
- Click Content Restrictions.
- Under Web Content, choose Limit Adult Websites.
- Add specific websites to the Never Allow list for extra control.
How to Block YouTube on MacBook
Blocking YouTube completely can be tricky, but the process is simple. In the Content & Privacy section, go to Web Content. Then, choose Limit Adult Websites and add www.youtube.com to the Never Allow list.
Remember that you can also use third-party parental control apps to block YouTube more effectively. Don’t know which parental control app suits your needs? Read on to find out!
Extra Tips: Keep Your Kids Safe and Focused
Children don’t usually like to be prohibited. That’s why you should talk openly with them about why certain sites are off-limits and help them understand the risks of harmful content online. Here are other ways you can keep them safe in the digital world:
- Encourage healthy screen time by creating a daily schedule that includes time for studying, playing outside, and using the computer, so they’re less likely to waste time online.
- You can also use Apple’s Family Sharing features to set up accounts for your kids, control what they can download, and monitor their app usage. Checking your child’s browser history from time to time is another good practice, as it helps you catch any problems early on.
- Lastly, remember to lead by example; children learn how to use the internet safely and responsibly by watching you.
Combining these online safety tips helps your kids stay safe and focused while using their Mac.
Conclusion
Setting up parental controls on your MacBook is a big step in keeping your children safe online. However, built-in controls, like MacBook parental controls, might not cover everything, especially for managing apps like YouTube. That’s why we recommend using Safes, our parental control app designed to help you protect your kids across all devices. Safes make it easy to block harmful websites, set screen time limits, and monitor their online activities.
Download Safes today on Android and iOS, and keep your kids safe and give yourself peace of mind.
Your Child’s Online Safety Starts Here
Every parent today needs a solution to manage screen time and keep their child safe online.
Without the right tools, digital risks and excessive screen time can impact children's well-being. Safes helps parents set healthy boundaries, monitor activity, and protect kids from online dangers—all with an easy-to-use app.
Take control of your child’s digital world. Learn more about Safes or download the app to start your free trial today!